


I have been dreaming of making my own homemade oat milk ever since I saw it popping up as a trend that at first I was really excited about… until I realized the ingredients in all of the oat milks on the market right now.
One of the most popular brands out there, the one that is carried in all of the cute coffee shops many of us frequent, lists these as their ingredients: Oat base (water, oats 10%), rapeseed oil, calcium carbonate, calcium phosphates, iodised salt, vitamins (D2, riboflavin and B12).
I am sorry, but other than oat base… I don’t want any of that in my body!! Rapeseed oil is really no different than canola oil, which I wouldn’t recommend to anyone as it is genetically modified which leads to all sorts of unhealthy side effects. Also with he MTFHR genetic mutation that I have I am supposed to avoid riboflavin in products (which is in so many shelved products right now, unfortunately!!). And obviously I am salt-oil-sugar-free, so the salt doesn’t work for me either!
If you enjoy the occasional oat milk latte at your local coffee shop and you feel just fine, that’s great! I am not trying to scare you, but it’s good to be mindful of what we are putting in our bodies. Especially for those of us with chronic illness and autoimmune issues, being aware of every ingredient that goes into our bodies is crucial in the healing process.
Plus, it’s so fun to make our own homemade mylks and nourish our bodies that way!! I have been making every meal at home for the last several weeks, and it feels so good. My body is happy and mentally its so calming for me to spend time in the kitchen. It’s one of my greatest forms of moving meditation right now.
Also, I don’t know about you but I find squeezing a nut mylk bag to be extremely fun and therapeutic… lol. But so serious. Also, it only takes 10 minutes tops to whip up your own mylk at home, and it lasts for a good 5 days in the fridge.
ANNNDD I know I have promised you guys an Expo West recap, which is coming, but the main trend I noticed was oat milks!! Everywhere! Every brand is releasing them. Cold brew companies, so many alternative milk companies, and even brands I would never expect like ice cream and frozen food companies. When a buzz word like “oat milk” is created, everyone wants to hop on board.
It’s kind of like cold pressed juice companies 5 years ago… first there was one, then two, then three, then they exploded!! I remember being at Expo West 5 years ago and EVERY. SINGLE. TABLE. was cold pressed juice!! Either that, or some kind of drink / tea blend. Now, those are fewer and further between.
Okay I will save the rest of my Expo spiel for another post, and share with you this yummy, easy, minimal ingredient oat milk!
Homemade Oat Milk //
First of all, this oat milk can be made with two simple ingredients: oats, and water. But I like to spruce it up a little and add cinnamon and liquid stevia for flavor. You can also add maple syrup instead of stevia, 2 dates for sweetness, cacao or cocoa for chocolate mylk, berries for berry mylk, bananas for banana mylk, the list goes on!
Speaking of 2 ingredients, this oat milk pairs veryyyy nicely with my 2-ingredient cookies from yesterday! And of course with my chunky monkey banana bread brownies… holy heaven.
Since I am not eating / consuming nuts right now because of the Gerson therapy, this is extra exciting because usually I turn to a nut mylk for smoothies, bases for oatmeal, what have you. Now I have this delish go-to!
It is vegan, SOS-free, nut-free, gluten-free, Gerson-friendly, and heavenly. 🙂
Ingredients //
1 cup rolled oats (I use these gluten-free Bob’s Red Mill oats)
4 cups water (use less for a creamier, thicker texture)
1 shake cinnamon
1 dropper full of liquid stevia (I use this one, bc its alcohol-free & my body does the best with it)
Optional: 2 tbsp cacao for chocolate mylk, 1/4 cup berries for berry mylk, 1 banana for banana mylk, 2 dates for sweetness, 1 tsp maple syrup for sweetness, whatever you so desire. 🙂
Method //
Add oats, water, cinnamon, and stevia into a high-speed blender (you can find mine on my Amazon Shop Page full of all of my faves) & blend on high until well combined. You don’t want to over-blend, because it’s easy for this mixture to get slimy / gooey if too blended.
Get out your trusty nut mylk bag or another alternative (I have used a super thin towel before as an alternative), and place it into a large mixing bowl. Pour the mixture into the bowl, and squeeze through the nut mylk bag. This mixture is gooier in texture than your traditional nut mylk, so you’ll really have to work to get it all out!
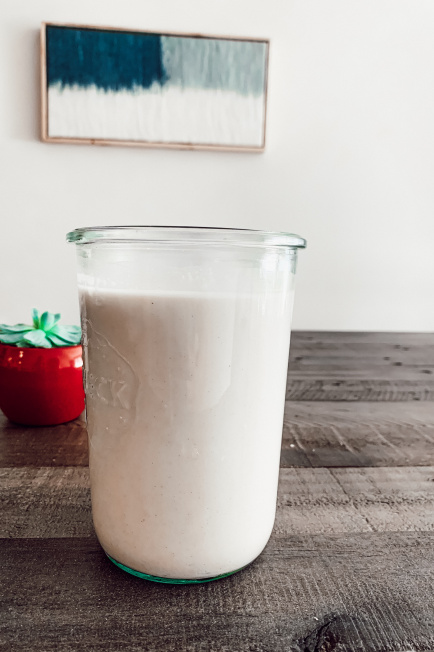
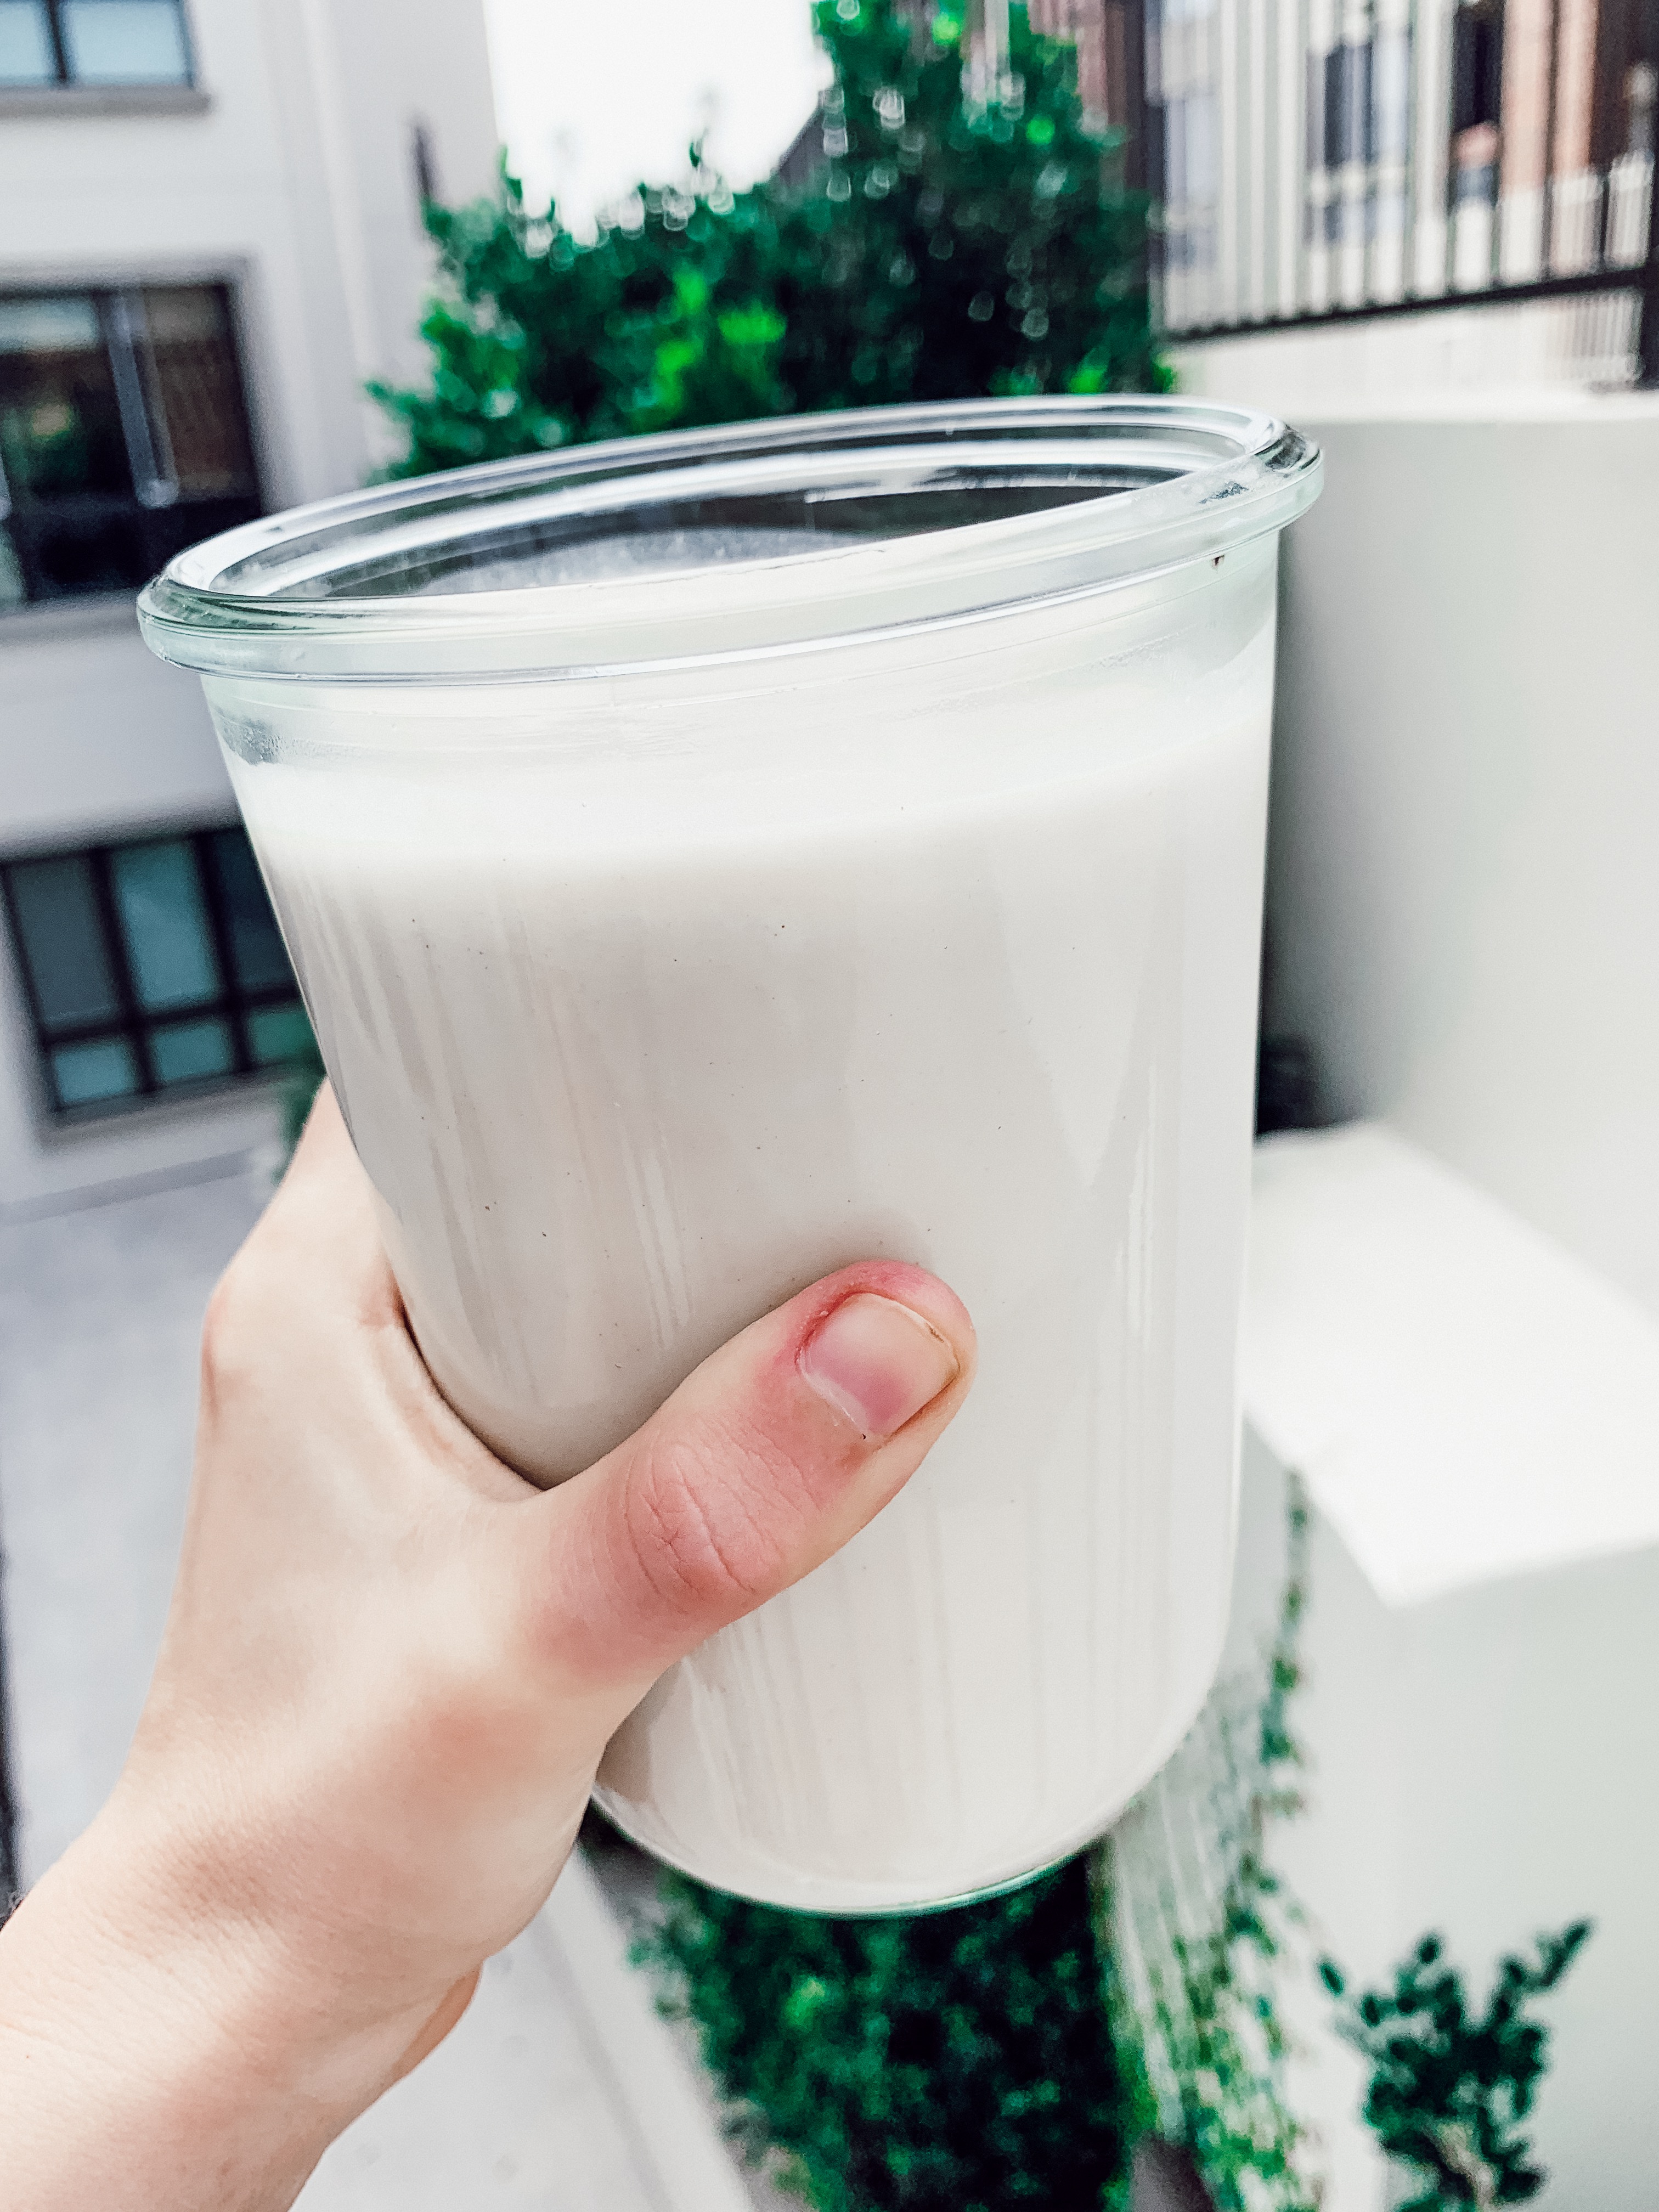
Transfer into a sealed container and refrigerate. I love my Wecks Jars (I actually get so many questions about this on Insta, so definitely check these out if you’re looking for a great jar / glass that is super easy to store!).
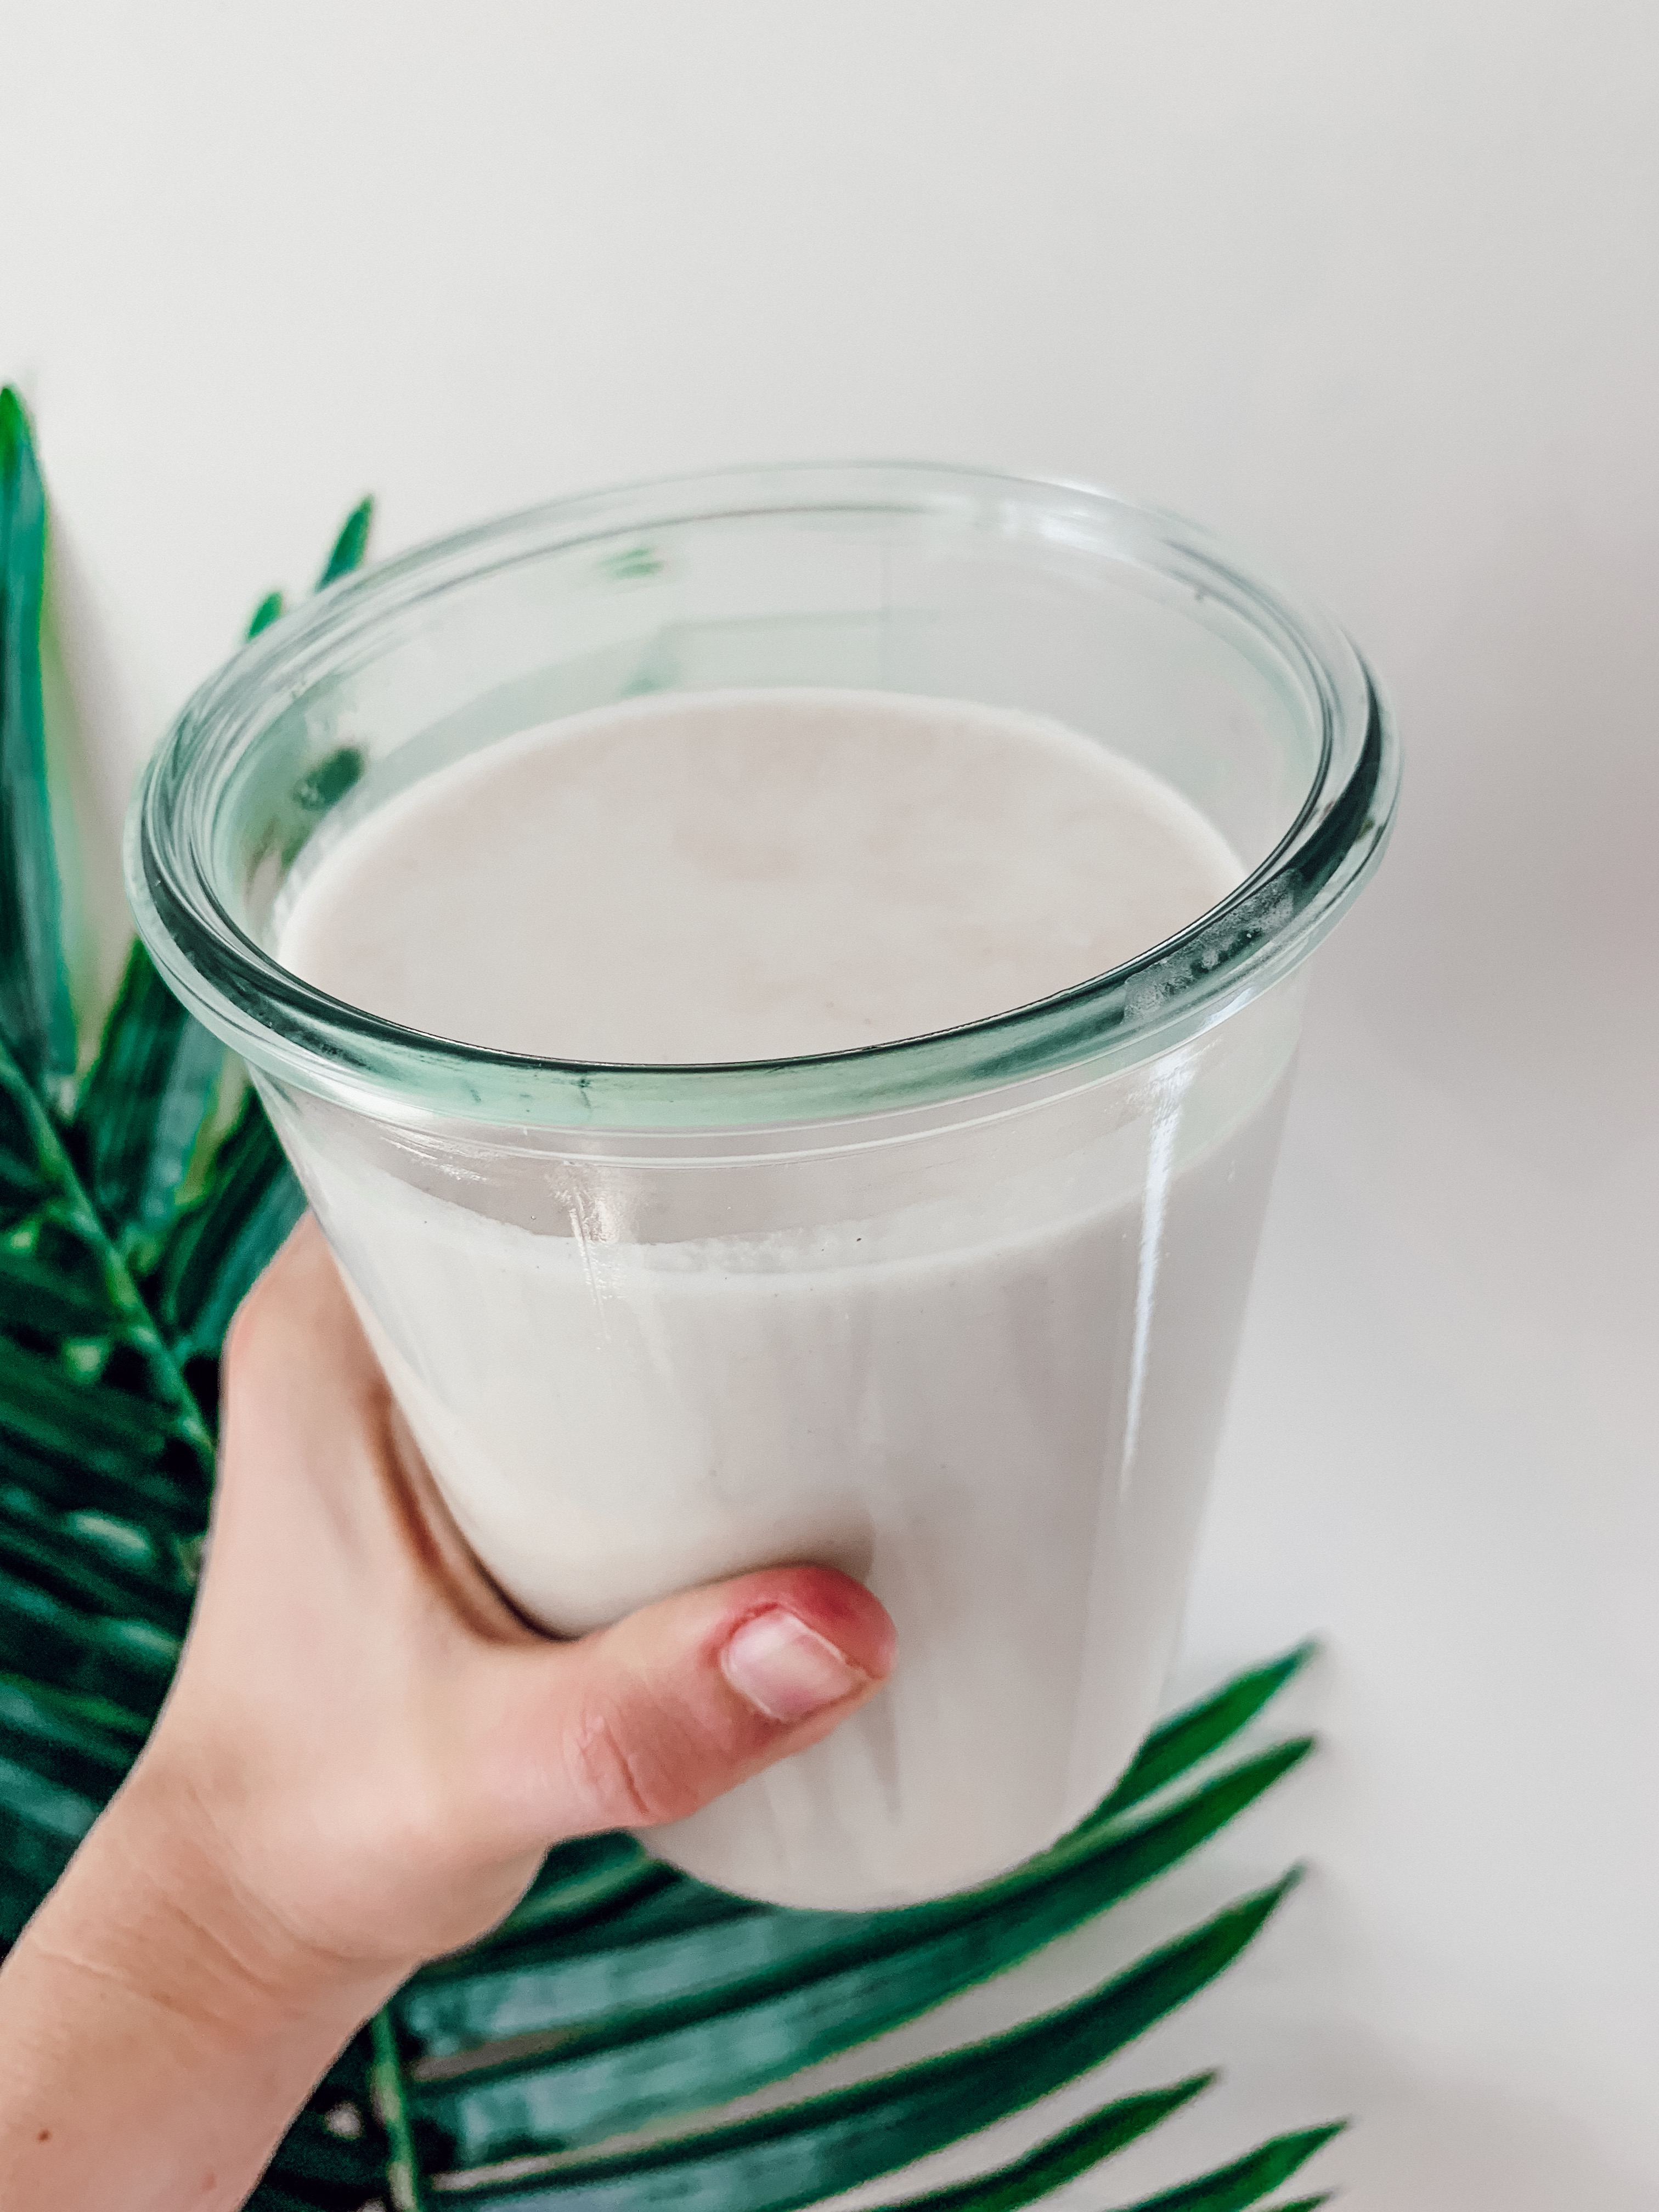
The milk will last for about 5 days in the fridge, and you can also freeze it for up to a month. Shake it well before drinking. Enjoy in smoothies, chaga lattes, decaf coffees, over granola, in a smoothie, or even on its own. Of course, these cookies are sooo yummy dunked in the milk!
As always, if you make this, tag me @thebalancedblonde & #tbbmademedoit so I can see!! Tell me what ya think and what you’d like to see more of!